
My Microblading Experience


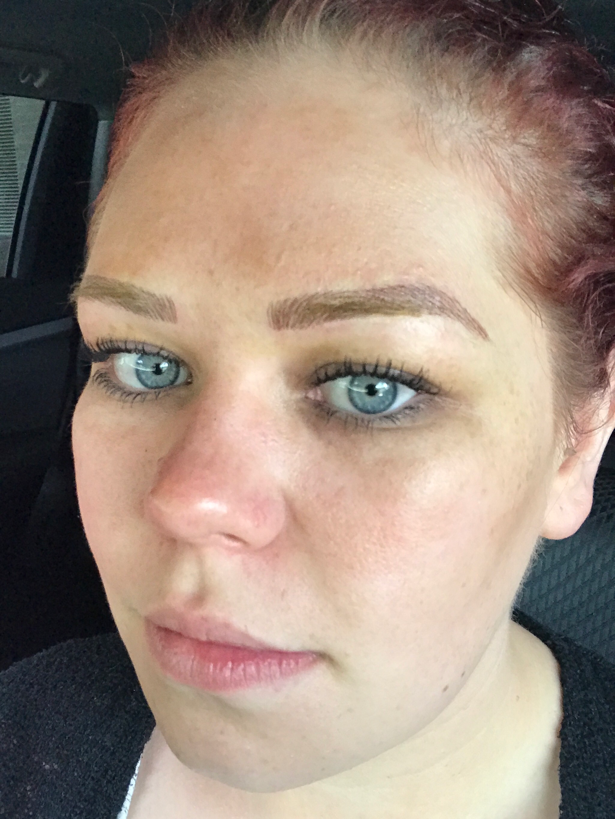
As I've said many times before, the 90s ruined my brows. I was a teenager with a pair of tweezers and no direction. They started going and kept going and then never came back. I've had to draw my eyebrows every day for at least 5 years. I should have started before then, but I didn't know anything about makeup prior to those days. So here I am every morning waking up at 4:30am and spending at least 20 minutes drawing on these darn things and hating every second of it. After talking about it for months, my husband asked if I wanted microblading for our anniversary and I was elated, not only was he supportive, it wasn't going to hurt my debt Snowball! 

The above is my before picture. Now I'm a natural blonde who is currently rocking bright red hair. My eyebrows were WAY too light. 


I did a ton of research and being in Atlanta I had A LOT of options for professional microblading. I found XoBeautyandBrows on instagram and I didn't see a single picture I didn't like. I knew she was who I wanted. Now she is busy, so you might have to wait for an appointment, but in my opinion, it's worth it. 


The appointment took about an hour and a half and I was free to go. The above photo is immediately after my appointment. 


Here is days 1-8. The peeling began on day 7 and continued for the few days. I was really scared when they first started peeling. I was scared it was too soon, but I looked the color had stayed on quite nicely. There were a couple of areas that will definitely need the touch up, but I knew that prior to my first appointment. 

The rules for this procedure stated you can't get your brow area wet for 2 weeks. This also means no makeup on or around this area until healed. I was given tattoo goo when leaving the appointment and was told to wipe each brow with a baby wipe and apply a small layer of the goo on twice a day. 

The cons: these babies itch! I'd say by day 4 the itching was horrible. I have other tattoos, but I don't remember any of them itching this bad. It was a struggle, but I succeeded and didn't peel anything by giving into the itch. 


All information states they'll be healed by day 14. Above is a photo on day 14. I had a few scabs leftover (the area with hair peeled much slower), but overall they were pretty darn close to being healed.

Was this worth it? Yes! And even with the pain I would absolutely do it again. This procedure has saved me so much time in the mornings and looks great on days when I'm wearing no other makeup. 


Comments

Popular posts from this blog

Blogtober Day 24! DIY Remove Black Stains from Hardwood Floors

      This blog is coming to you by accident, of course. I don't know if I've mentioned it much on this blog, but I have two pitbulls. I know, a lot to handle, and one of them is a puppy. She is horrible sometimes, but I can't help but love her. Our whole house is hardwood floors, which I love! With my two dogs, if the happen to have an accident it's really easy to clean up...or so I thought.  We have had a large living room rug down for about 6 months now. Over the weekend we decided to take it outside and air it out and do a little "Fall Cleaning". Low and behold underneath the rug were huge dark black spots on the hardwood. I immediately jumped on Pinterest to see what to do. It turns out dogs urine causes the wood to turn black (who knew?). So I found a solution that I'm really excited to share with you.  Peroxide! Awesome, I had plenty on hand and immediately started to try it out. At first I used a paint brush to apply it to the specific areas.  Almo

Personal Planner Setup

I have been using a planner for as long as I can remember. My little OCD self needs something to keep me grounded and on track. About 3 years ago I discovered Erin Condren as well as the planner community on social media (if you are a planner person check them out, it is such a positive and supportive group of people). If you're not familiar, the Erin Condren Life Planner is an A5 size planner (7" by 9") and is a thick planner. For me, this type of planner is not convenient for every day use so this planner stays at home on my desk and is used mostly for my creative side, not functionality. This brings me to my personal size planner, I use a Kate Spade Wellesley planner which can be bought at the Kate Spade Outlet stores (these outlets will ship to you so call around if you don't live close to one and are interested). Currently as pictured above I am using the red version which was re-released this Summer, and I also have a black version which is always in stock.

DIY IKEA Kitchen Shelf

  It is finally complete! I have been working on decorating this bad boy for a few weeks now and I'm in love! Thanks to my dear husband we were able to turn this cheap IKEA shelving unit into an adorable farmhouse style kitchen shelf pretty easily. See below for our step by step!    This is the IKEA Mulig Shelving Unit which is $59.99 for the largest size. This measures 47 1/4x13 3/8x63 3/4 "    We purchased a 3/4" piece of plywood at Home Depot in which we got cut in store for each shelf. These measure 46 1/2" by 13"    Also at a Home Depot we purchased a tube of Loctite Power Grip and a small can of Golden Pecan stain . This stain matches a few other items in our house so they would all look cohesive.    Once home, let the staining begin.      After one coat of stain was dry we used the Loctite to place the plywood on the shelves. We used sand bags to weigh down e